Maple/Walnut Table
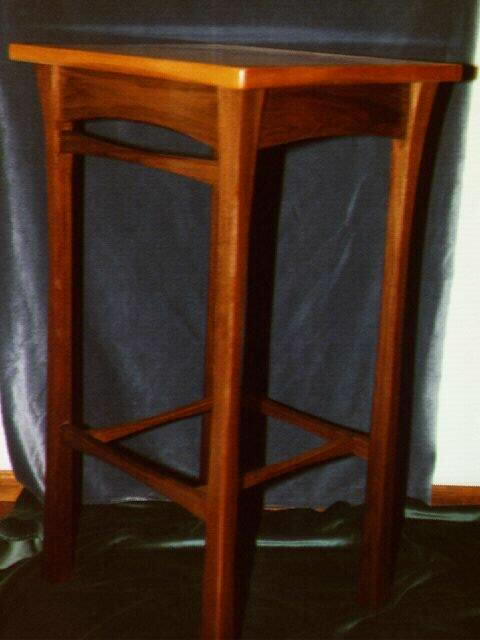
This is the second table of this type I've made and as usual I made some changes to the general shape from the flame birch table I made earlier. For one thing, the curves of the legs are a little different. I happened to be reading one of James Krenov's books at the time, and subconsciously it must have affected my design. When I made the templates for the legs, I was in a creative high, certain that no one else had ever come up with this design. A short time later I discovered some pieces in his book with painfully similar legs. Oh well, I'm still very happy with the way this table turned out. (I wish the pictures were a little clearer, though.)
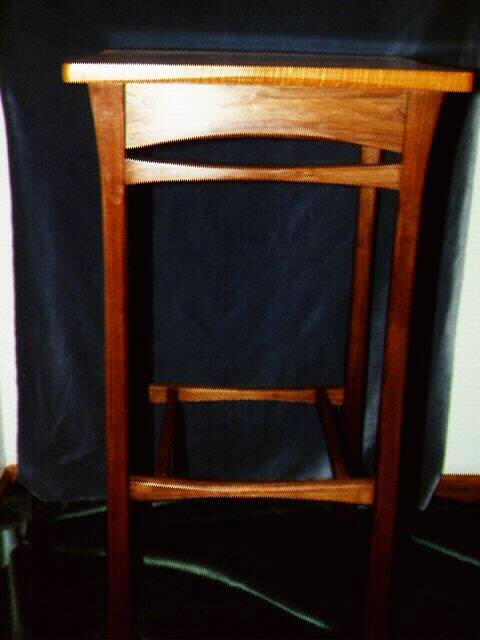
The base of the table is walnut. All the joints are mortice and tenons. The curved pieces were made by roughly cutting the shapes on the bandsaw and then fine tuning the shapes with a spokeshave. The corners of the legs and the base of have a light chamfer put on with a spokeshave as well. I like the clean cut look a sharp spokeshave can leave so I minimized the final smoothing to leave some of the tool marks on the piece. It should be clear that this piece wasn't spit out on a monster shaper table. I tried to make the pieces as uniform as I could by eye, but there are always some asymmetries when working this way. I prefer it to the 100% precision that machine methods strive for.
This table has a drawer and I puzzled a while about how to incorporate the drawer front so it looked just like one of the horizontal rails, but without leaving the front of the base too weak. I ended up putting in the thinner horizontal rail under the drawer, which makes the front different from the back and sides, but it still fits the overall look of the piece. I think it does, anyway.
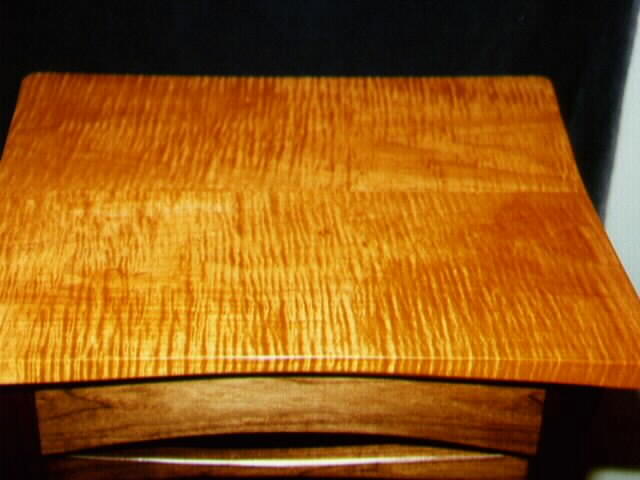
The top is glued up from two pieces of gloriously figured curly maple from Pete Taran. The photo does it little justice. While wildly figured, the maple was wonderful to work with using an infill smoothing plane or my Lie-Nielsen #4. Rather than make the top an ordinary rectangle, I put some mild curves on the sides which give it a "butterfly" shape and spokeshaved some chamfers on the underneath of the table
To breing out the figure, I used a light, honey amber aniline dye stain on the top and finished the piece with a couple coats of tung oil, followed by numerous coats of polymerized tung oil. The final finish was rubbed down with pumice and rottenstone to cut the gloss a little and then waxed.
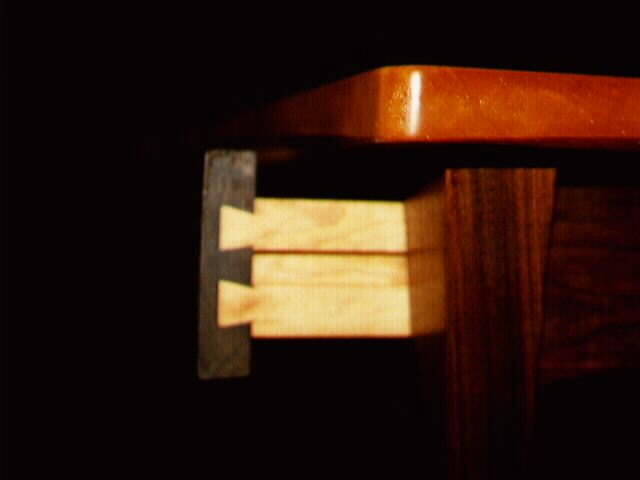
The drawer is made with a walnut front and maple sides, back, and bottom. I used half blind dovetails on the front and through dovetails on the back. The drawer is mounted to maple slides screwed to the inside of the left and right rails. To attach the top I used "L" shaped buttons screwed to the top that fit into routed slots in the base rails. This is a neat way to allow for movement of the wood and it was easier to do than I had expected.
This page hosted by
Geocities Get Your FREE Homepage!